How to annotate a PDF
Highlight, draw and add notes to a document — and why your page text stays selectable afterwards.
Marking up a PDF is the most collaborative thing anyone does with one: circling the number that is wrong, highlighting the clause that needs a lawyer, drawing an arrow at the thing everybody has been describing over the phone for a week. The awkward part has never been drawing the marks. It is what most tools quietly do to your document on the way out.
Annotate a PDF
Upload the PDF
Drop in the file. Every page is rendered so you can see what you are marking — this takes a moment on a long document, and a progress bar shows where it is up to.
Pick a tool and a colour
Draw, Highlight, Text, Box or Circle, in one of five colours. The size slider sets the stroke weight.
Mark the page
Drag to draw, highlight or pull out a box or circle. With the Text tool, click where you want the text and type.
Move between pages
Use the page arrows. Marks stay on the page you made them on, and a counter shows the total across the whole document.
Save
Click Save annotated PDF. Your marks are stamped onto the pages and the copy downloads.
Your page text stays real text
This is the thing worth knowing, and almost nobody says it. Annotating does not rasterise your document. What gets saved is a transparent PNG containing your marks and nothing else, stamped over the top of the page as an image. The page underneath is never redrawn, re-encoded or converted into a picture — it is the same page it always was, with something laid on top of it.
So the text stays selectable. It stays searchable. Copy and paste still work, a screen reader still reads it, and Ctrl+F still finds the clause you just highlighted. That is a genuinely different outcome from the tools that flatten a marked-up page into a photograph of itself, and you only notice the difference later — usually at the exact moment you needed to search the document.
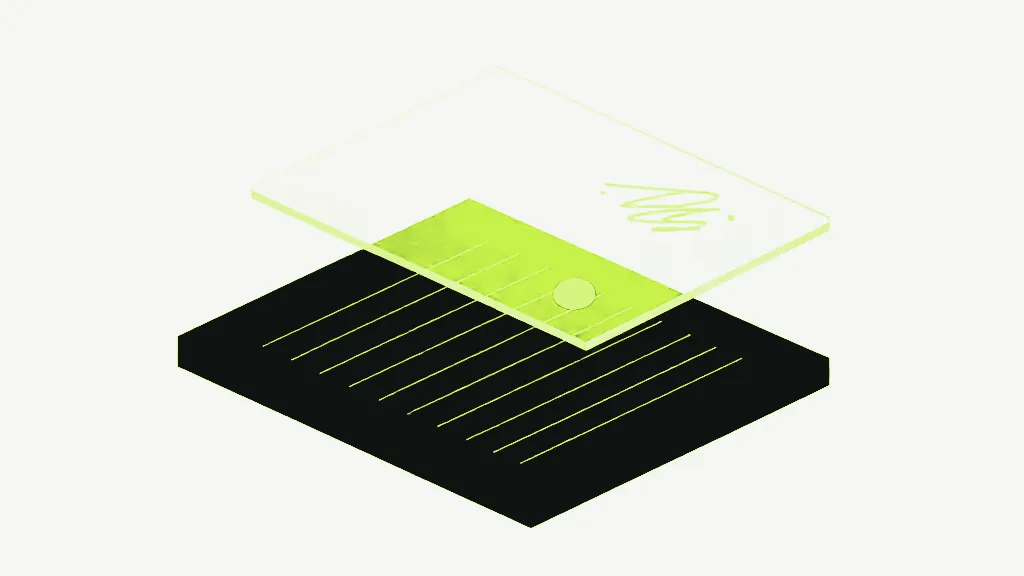
The proof is stronger than it sounds. Stamp a completely opaque overlay across the full page — visually burying the document — and the text underneath is still there and still extractable. Covering something is not deleting it. That cuts both ways: a box drawn over a phone number hides it from a reader, and does not remove it from the file. If you need something genuinely gone, annotating is not redaction, in exactly the way cropping is not redaction.
The marks themselves are an image
Your annotations are flattened into that overlay when you save, which has one consequence people run into: they cannot be edited afterwards. Reopen the saved file here and you get a page with a picture of your highlighter on it, not a highlight you can drag, recolour or delete. Undo and redo exist while you are working, and stop existing the moment you download.
The practical habit is to keep the original. Save the annotated copy under its own name — which is what the download does anyway, appending _annotated — and if the marks need revising, go back to the clean file and mark it again. The original is never modified either way; the tool only ever hands you a new copy.
The controls, and where they stop
- Five tools: draw, highlight, text, box and circle.
- Five fixed colours: red, amber, green, blue and near-black. There is no custom colour picker, so brand colours are out.
- One size slider, 1 to 8, defaulting to 3. It sets the stroke weight for every tool.
- The highlighter is the same stroke at five times the width and 35% opacity — which is why it reads as a marker rather than a pen, and why the words underneath stay legible through it.
- Text size is not independent. It is locked to the size slider — 14px plus six times the slider value — so a thick box and small text is not a combination you can have in one pass.
Undo goes back a step in the document, not on the page
Worth knowing before it surprises you. Undo snapshots the whole document rather than the current page, so if you mark page 4, move to page 9, mark it, then press undo twice, the second undo reaches back and removes the mark on page 4 — a page you are not looking at. The counter at the bottom shows the total across every page, which is the only signal that something changed out of sight. Clear page, by contrast, is exactly what it says and only touches the page in front of you.
Two things that silently do nothing
A box or a circle smaller than three pixels in both directions is discarded rather than saved. This is deliberate — it stops a stray click leaving an invisible speck in your file — but it does mean a very small circle can simply fail to appear. Drag a bit further.
Likewise, a text box you click into and then click away from without typing anything is dropped when it loses focus. No empty annotation is written. Both are the right behaviour and neither announces itself, so if a mark did not appear, one of these is usually why.
How sharp the marks are
The overlay is built at the resolution the pages were rendered at — around 108 DPI for a normal A4 or Letter page. That is plenty for pen strokes and highlighter, which have no fine detail to lose. On unusually wide pages — past about 666 points, so large-format drawings and posters — a width cap kicks in and the render scale drops, which means the overlay on a big engineering plan is coarser than on a letter. The page itself is unaffected. It is only your marks that are drawn at that resolution, because it is only your marks that get stamped.
Everything runs in the browser tab; the file is never uploaded. If you want to type into a form rather than onto a page, Fill PDF Forms is the tool for that, and it keeps the fields as fields.